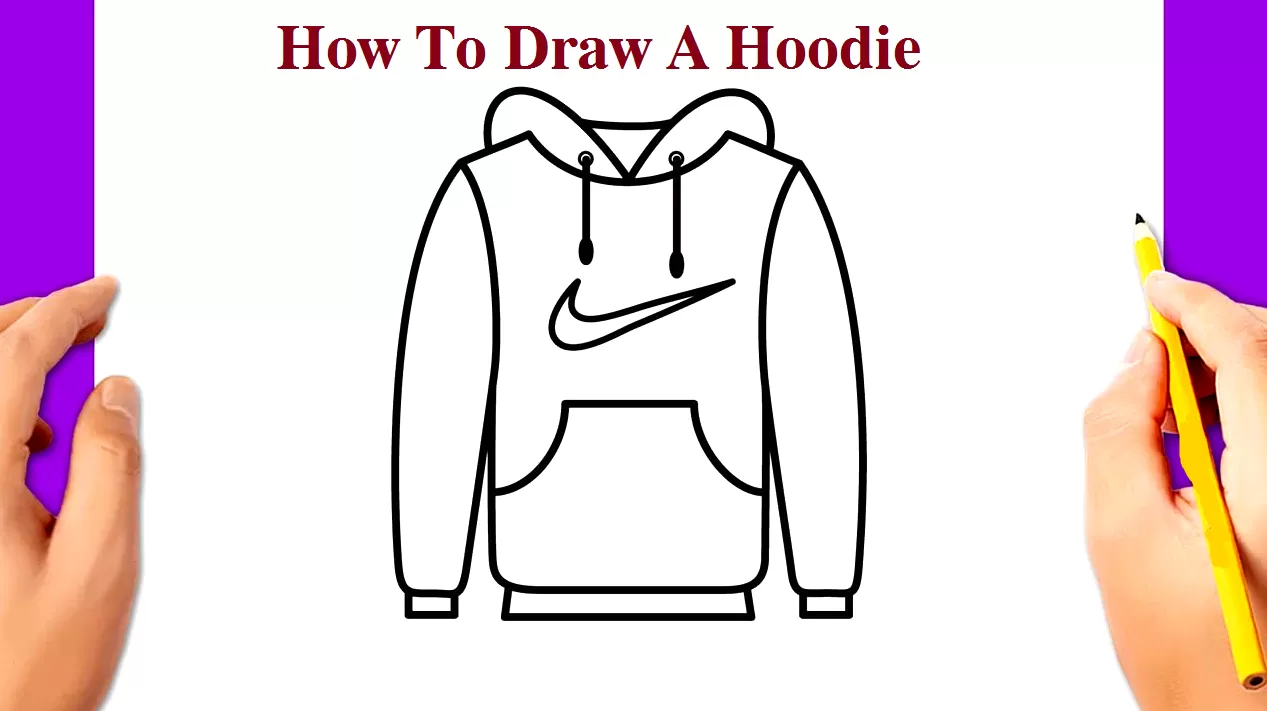
How To Draw A Hoodie
A hoodie is a sweatshirt with a hood attached to the back. It is typically made from soft materials like cotton or polyester and often features a drawstring around the hood to adjust its tightness. Hoodies are popular because they offer comfort and style, making them a go-to choice for casual wear.
One reason hoodies are so popular is their versatility. Depending on the occasion, they can be dressed up or down, making them appropriate for everything from running errands to attending casual events. Additionally, hoodies come in various colors and styles, allowing people to express their tastes through clothing choices.
When it comes to drawing a hoodie, there are several key elements to keep in mind. The hood should be drawn with volume and dimensionality to appear three-dimensional on the page. The body of the hoodie should also have some texture, whether through shading or small details like pockets or zippers. Finally, attention to how light falls on the fabric can help make your hoodie drawing look even more lifelike and realistic.
Hoodie sketch
When it comes to drawing a hoodie, there are a few key things to keep in mind. First and foremost, you’ll want to start with the basic shape of the hood itself. It can be a simple rectangular shape or add some curves for a more realistic look.
Next, consider the body of the hoodie. It should be drawn as two overlapping rectangles – one for the front and one for the back. Be sure to add folds and creases where necessary to give your hoodie texture and depth.
Finally, don’t forget about the sleeves! These should also be drawn as simple rectangles with some added details like cuffs or seams. And if you want to take your hoodie sketch to the next level, try adding some shading or color to make it pop! With these tips in mind, you’ll be well on your way to creating an awesome hoodie drawing that’s sure to impress.
Hoodie design
Hoodies are a fashion staple for many people. They’re comfortable, cosy, and versatile. If you want to design your hoodie, the first step is to sketch out your ideas. Grab a pencil and paper and start brainstorming what elements you want in your design.
To draw a hoodie, begin by sketching the basic shape of the garment. Draw a curved line for the neckline and two straight lines down from it for the front of the hoodie. From there, draw two more lines down each side of the body. For the sleeves, draw long oval shapes that start at the armhole and taper towards the wrist.
Once you have sketched your basic outline, it’s time to add details like pockets or graphics. When drawing pockets on a hoodie design, make sure they’re symmetrical and proportionate with each other. To add graphics or text to your design, use stencils or freehand drawings with markers or colored pencils. You can create unique hoodie designs that reflect your style with practice and experimentation!
What is the best way to draw a hoodie?
When it comes to drawing a hoodie, there are a few things to keep in mind. First and foremost, it’s important to understand the basic structure of the garment. A hoodie consists of the body, hood, and sleeves. Start by sketching out the general shape of each part separately before bringing them together.
When it comes to detailing your hoodie drawing, pay attention to things like seam lines and drawstrings. These small details can bring your artwork to life and make it look more realistic. Make sure you take your time with these elements and don’t rush through them.
Finally, consider adding shading or texture to your drawing. Hoodies are often made from thick or fuzzy materials with much visual interest. You can create this effect using your pencil or pen with cross-hatching or stippling techniques. By following these tips and taking your time with each step, you’ll be able to create an amazing hoodie drawing that looks like it could jump off the page!
How do I add shading to my hoodie drawing?
To add shading to your hoodie drawing, you can first determine where the light source is coming from. It will help you understand which parts of the hoodie would be in shadow and which would be highlighted. Once you have identified this, you can create darker areas on the side facing away from the light source.
Next, use a blending tool such as a pencil or brush to create a smooth transition between the shaded and highlighted areas. It will give your drawing a more realistic look. To achieve different effects, you can also experiment with different shading techniques, such as cross-hatching and stippling.
Remember that practice makes perfect when it comes to shading. Don’t be afraid to try new techniques; keep practising until you are satisfied with your results. Adding shading to your hoodie drawing will become second nature with time and patience!
Steps to drawing a hoodie:
- Sketch the basic shapes of the garment on paper.
- Begin to fill in the details, adding lines for the fabric and seams.
- Add shadows and highlights to create depth and realism.
- Finish up by adding finishing touches, such as highlights on the buttons and eyes.
FAQs
What kind of hoodies can I draw using this tutorial?
You can draw any hoodie, including zip-up or pullover styles. The steps apply to both types.
Do I need drawing experience to follow this tutorial?
No, you don’t need any prior drawing experience. This tutorial is designed for beginners who want to draw a hoodie from scratch.
What materials do I need?
All you need is a pencil and a sheet of paper. You can also use an eraser if needed.
Can I add my personal touches to the hoodie design?
Yes! Once you’ve learned the basic steps, get creative and add your unique details and designs.
Overall, this tutorial will help beginners draw a simple yet stylish hoodie that they can personalize however they like. It’s easy for anyone interested in fashion or art to try their hand at creating something new and exciting. With just a few materials and patience, anyone can learn how to draw custom-designed hoodies!


